DIY Design and Fabrication (24-672)
Project 4
Objective: Cast a replica of the Clay Model in Project 3.
For this project, we created a mold of our clay model piece from Project 3 out of silicone, and then using this mold cast parts our of Urethane resin to create a replica of our original piece. hand.
Process
The first step was to envision how the mold would work. Given the complex geometry of my part, I used a 2.5 part mold for my piece. The mold would be oriented vertically and parted along the bell flange. As the finger grip provided additional features which would be difficult to remove from the mold in a standard 2-piece mold, I also designed for one side of the part with the grip (hence the 1.5 part mold) to be cut, this allowed me to stretch the rubber to pull the grip out of the mold.
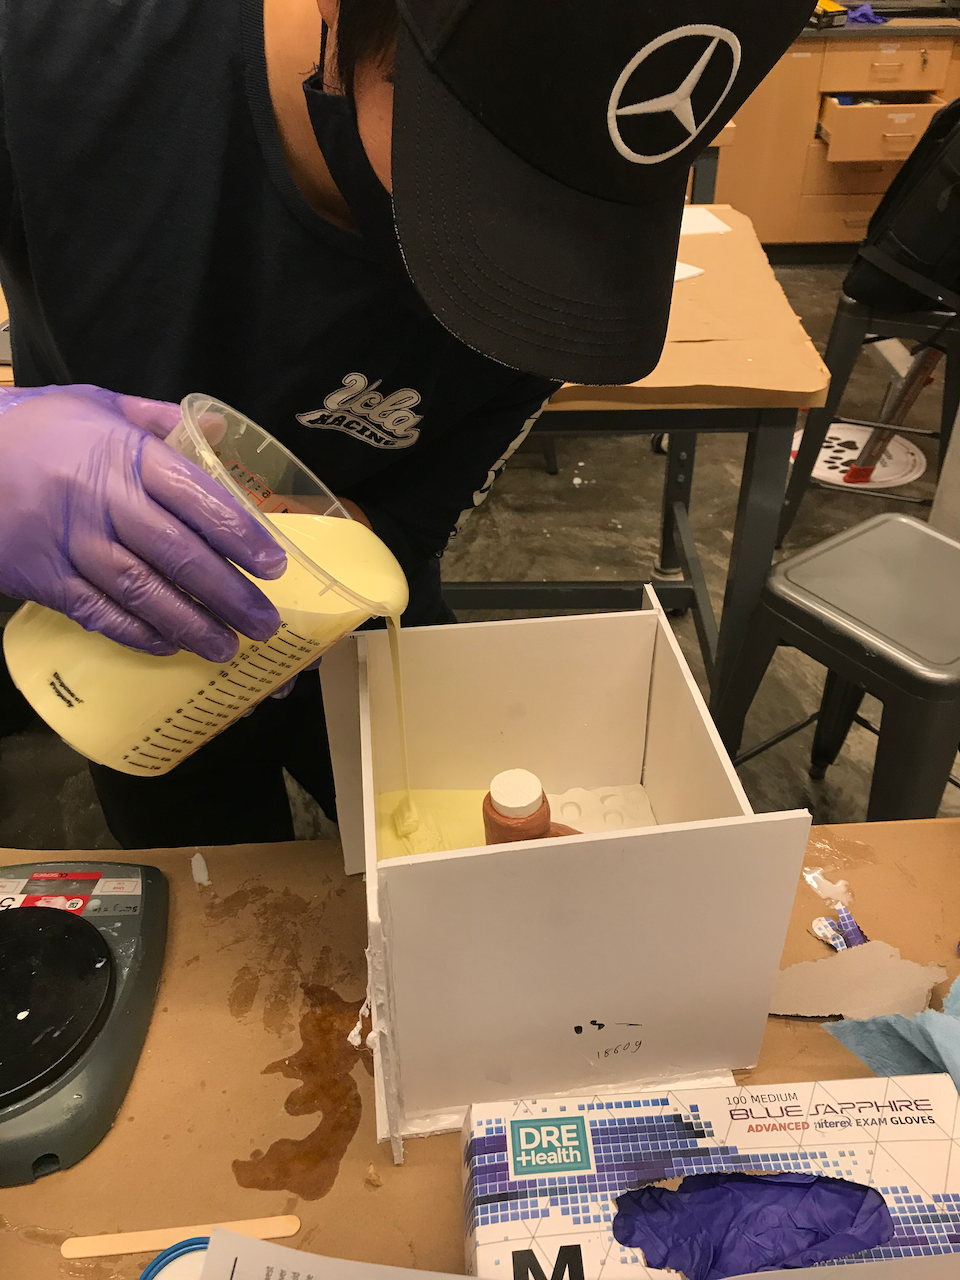
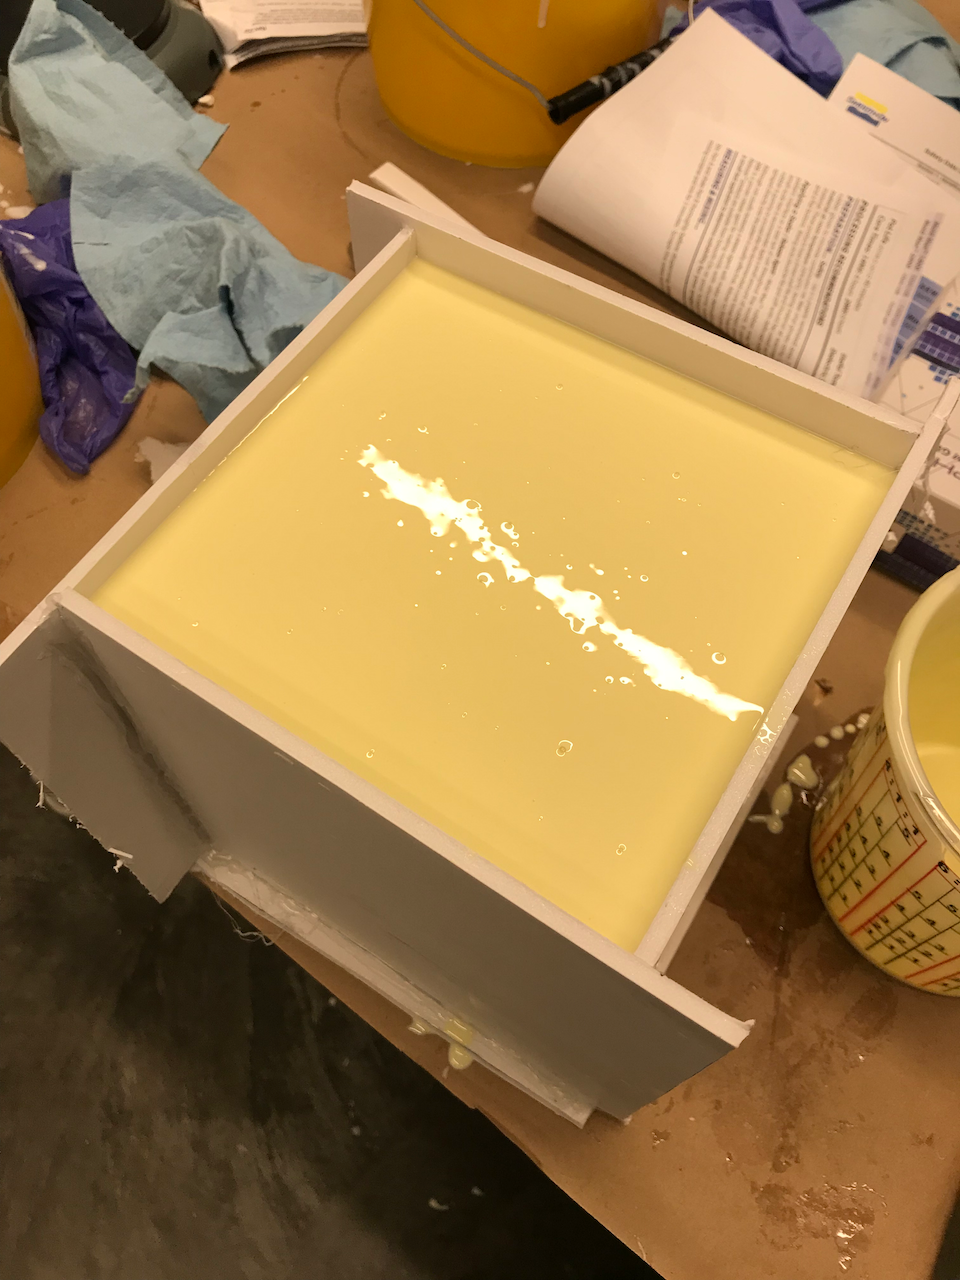
The first steps in fabrication were first to clay up half of the original clay mold, along the parting line. This clay provided the negative space in which the second part of the mold would take up. I also added registration marks to this mold, which allows a good interface between the two parts of the mold. After this clay was added, I created a box using foamcore walls in order to hold the poured silicone. After sealing this box with hot glue, I poured in the first part of the mold, using MoldMax 29NV.
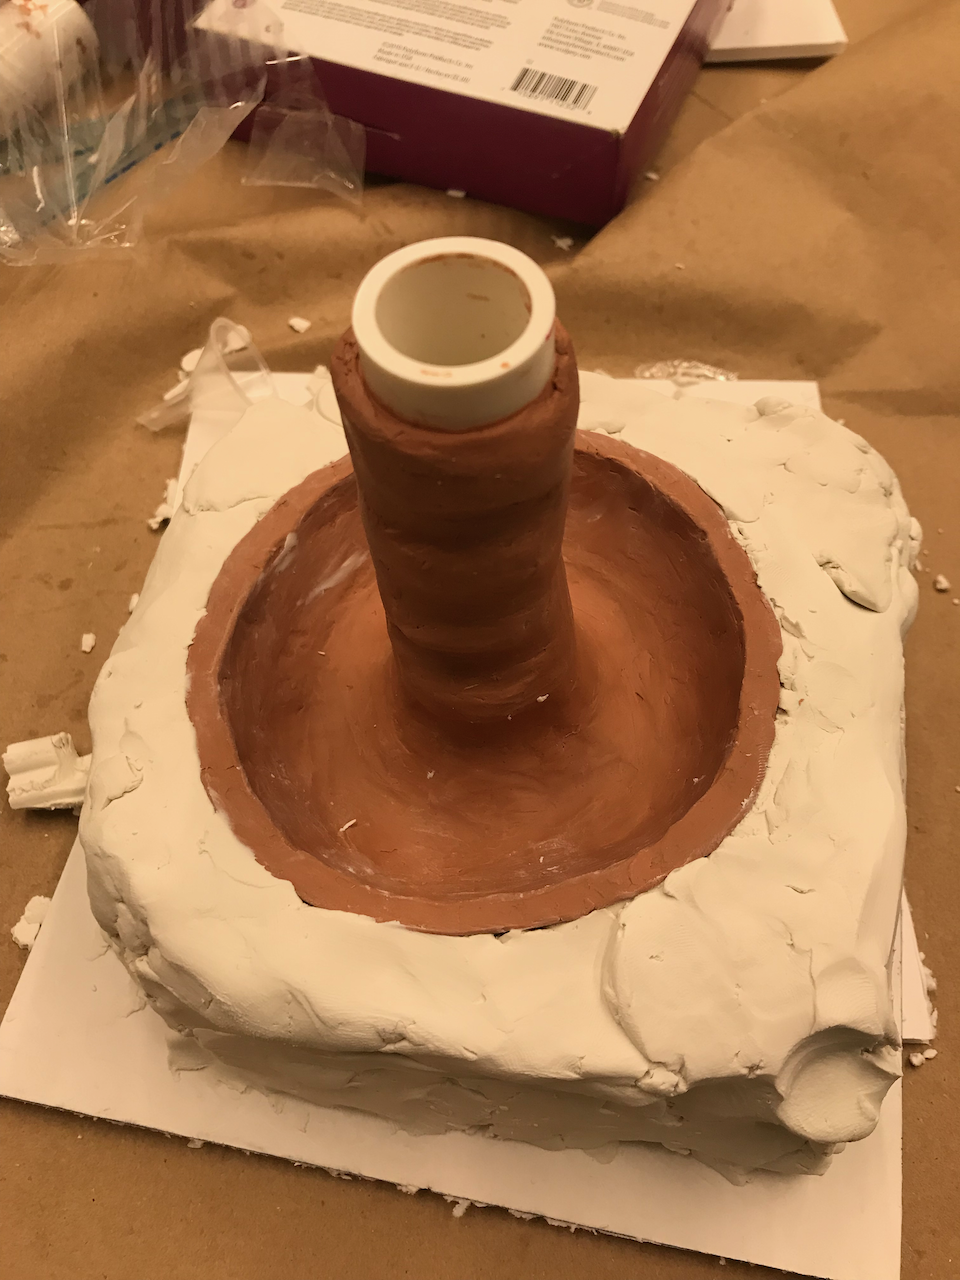
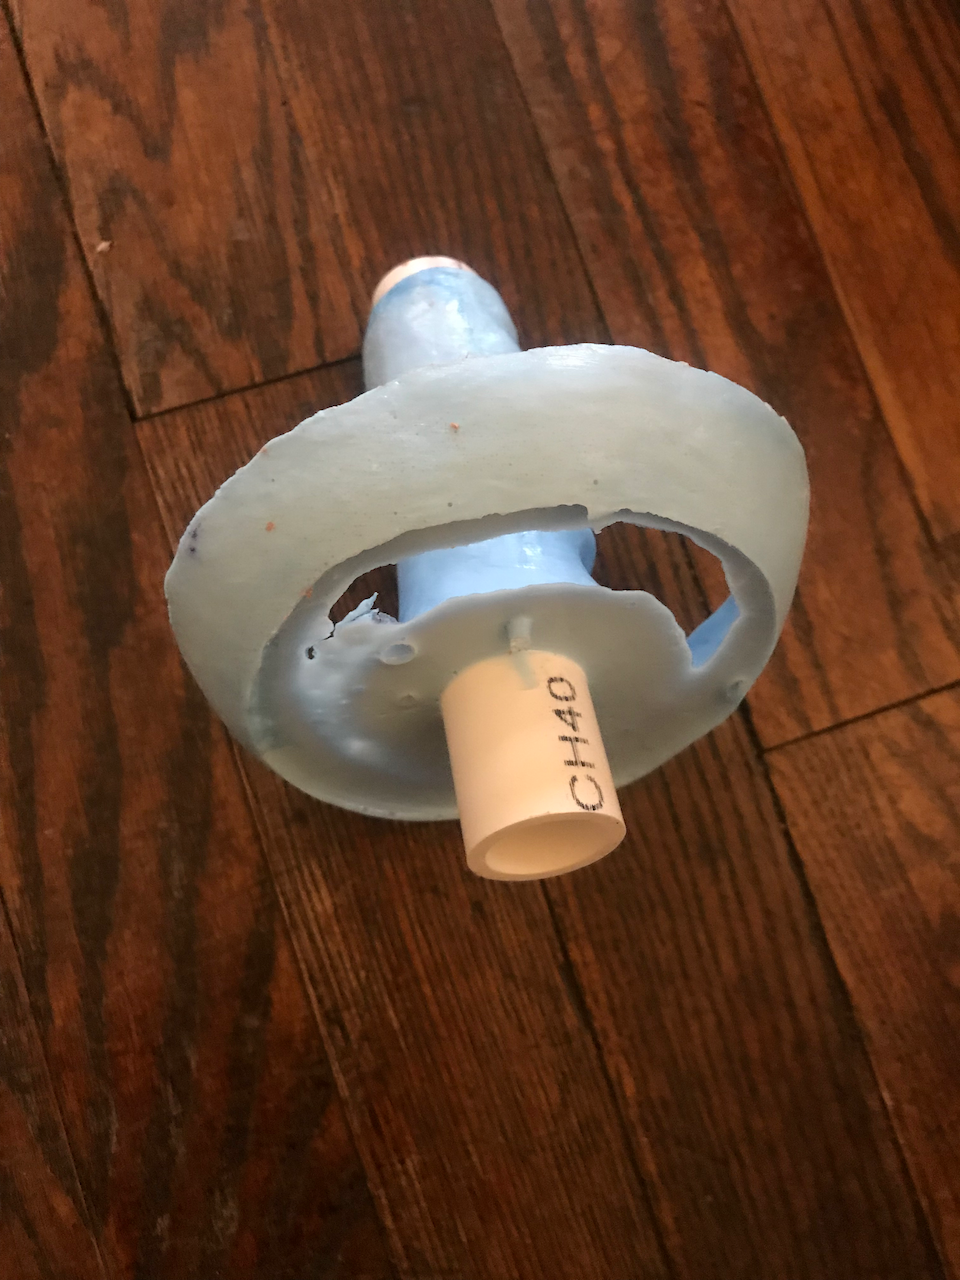
After letting the mold cure for 24 hours, I removed the mold from the box, removed the added clay and returned the mold to a new box, with the opposite side on top. I then repeated the moldmaking process for this second part. To remove my piece (and allow for future pieces to be removed), I then cut on one side of the piece with the grip, to allow the mold to flex far enough to remove the male part from the mold.

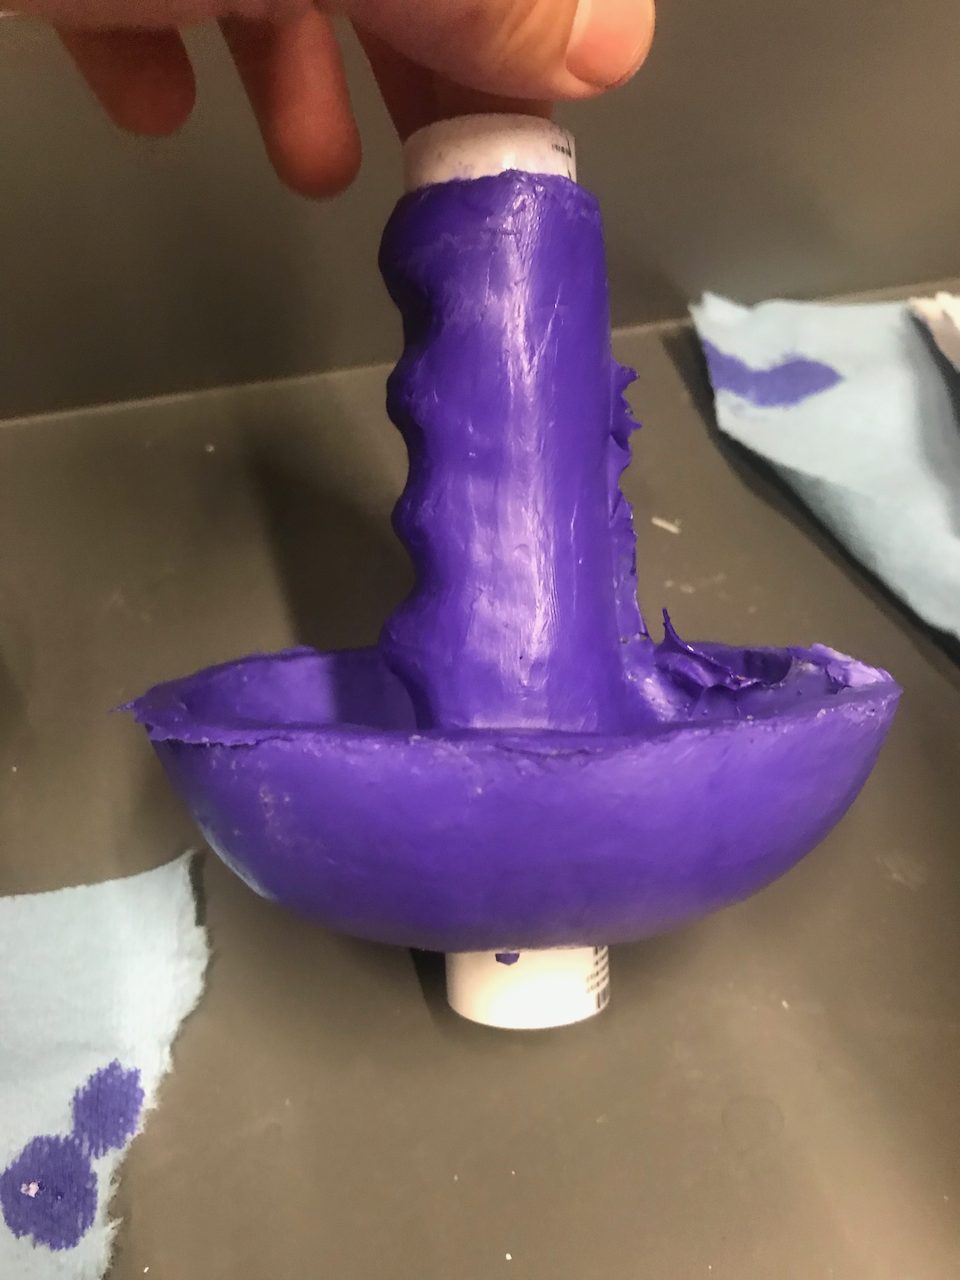
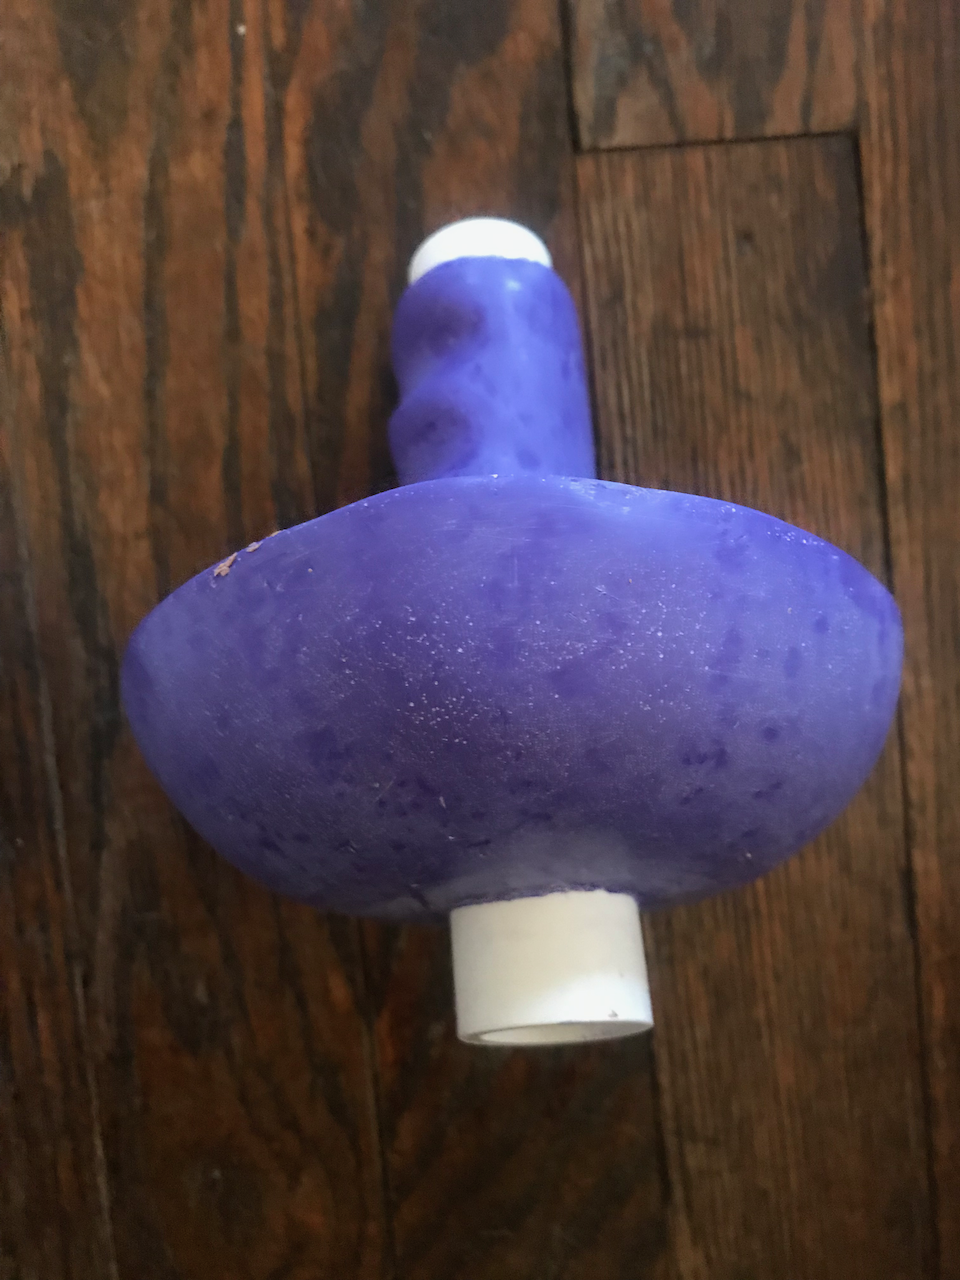
With my mold complete, I moved onto the resin casting. Below are 3 successive tries:
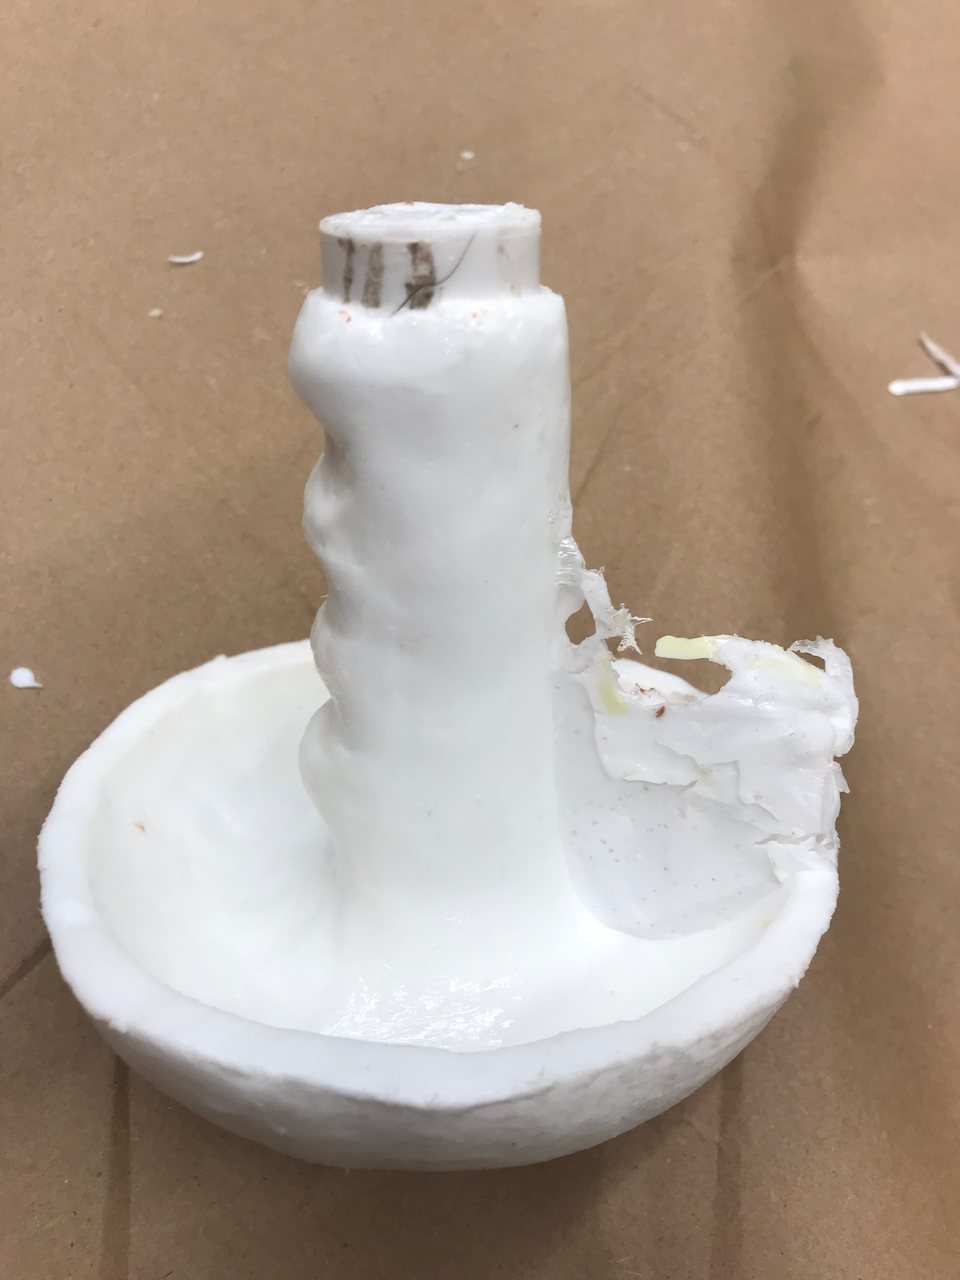
My final mold turned out nearly perfect from a casting perspective. Significant postprocesing was necessary to obtain a smooth finish, mainly due to imperfections of the original male clay part. To address some of these imperfections, I sanded down the entire part, starting at 100 grit sandpaper and using progressively finer grits until finishing with 3000 grit sandpaper.