DIY Design and Fabrication (24-672)
Project 1
Objective: Design a drink-themed accessory out of acrylic inspired by my daily routine.
For this project, I elected to design a water bottle holder for my commuter bike. I generally cycle to campus (weather permitting) and my bike does not have a bottle cage. This means that I do not have water accessible to me during the ride. With Pittsburgh’s many hills, sometimes this leaves me a little parched!
Design Process
I first started ideating about important traits of a water bottle holder, as well as how I interact with my bike. I came up with a few key requirements:
- Must be accessible while riding
- Must hold bottle secure during ride, including during moments on inclines
- Must be strong enough to hold full bottle
To visualize my thoughts, I made a moodboard, centered around my bicycle. This moodboard tells the story of my daily commute, as well as explore concepts and requirements for water bottle holders:
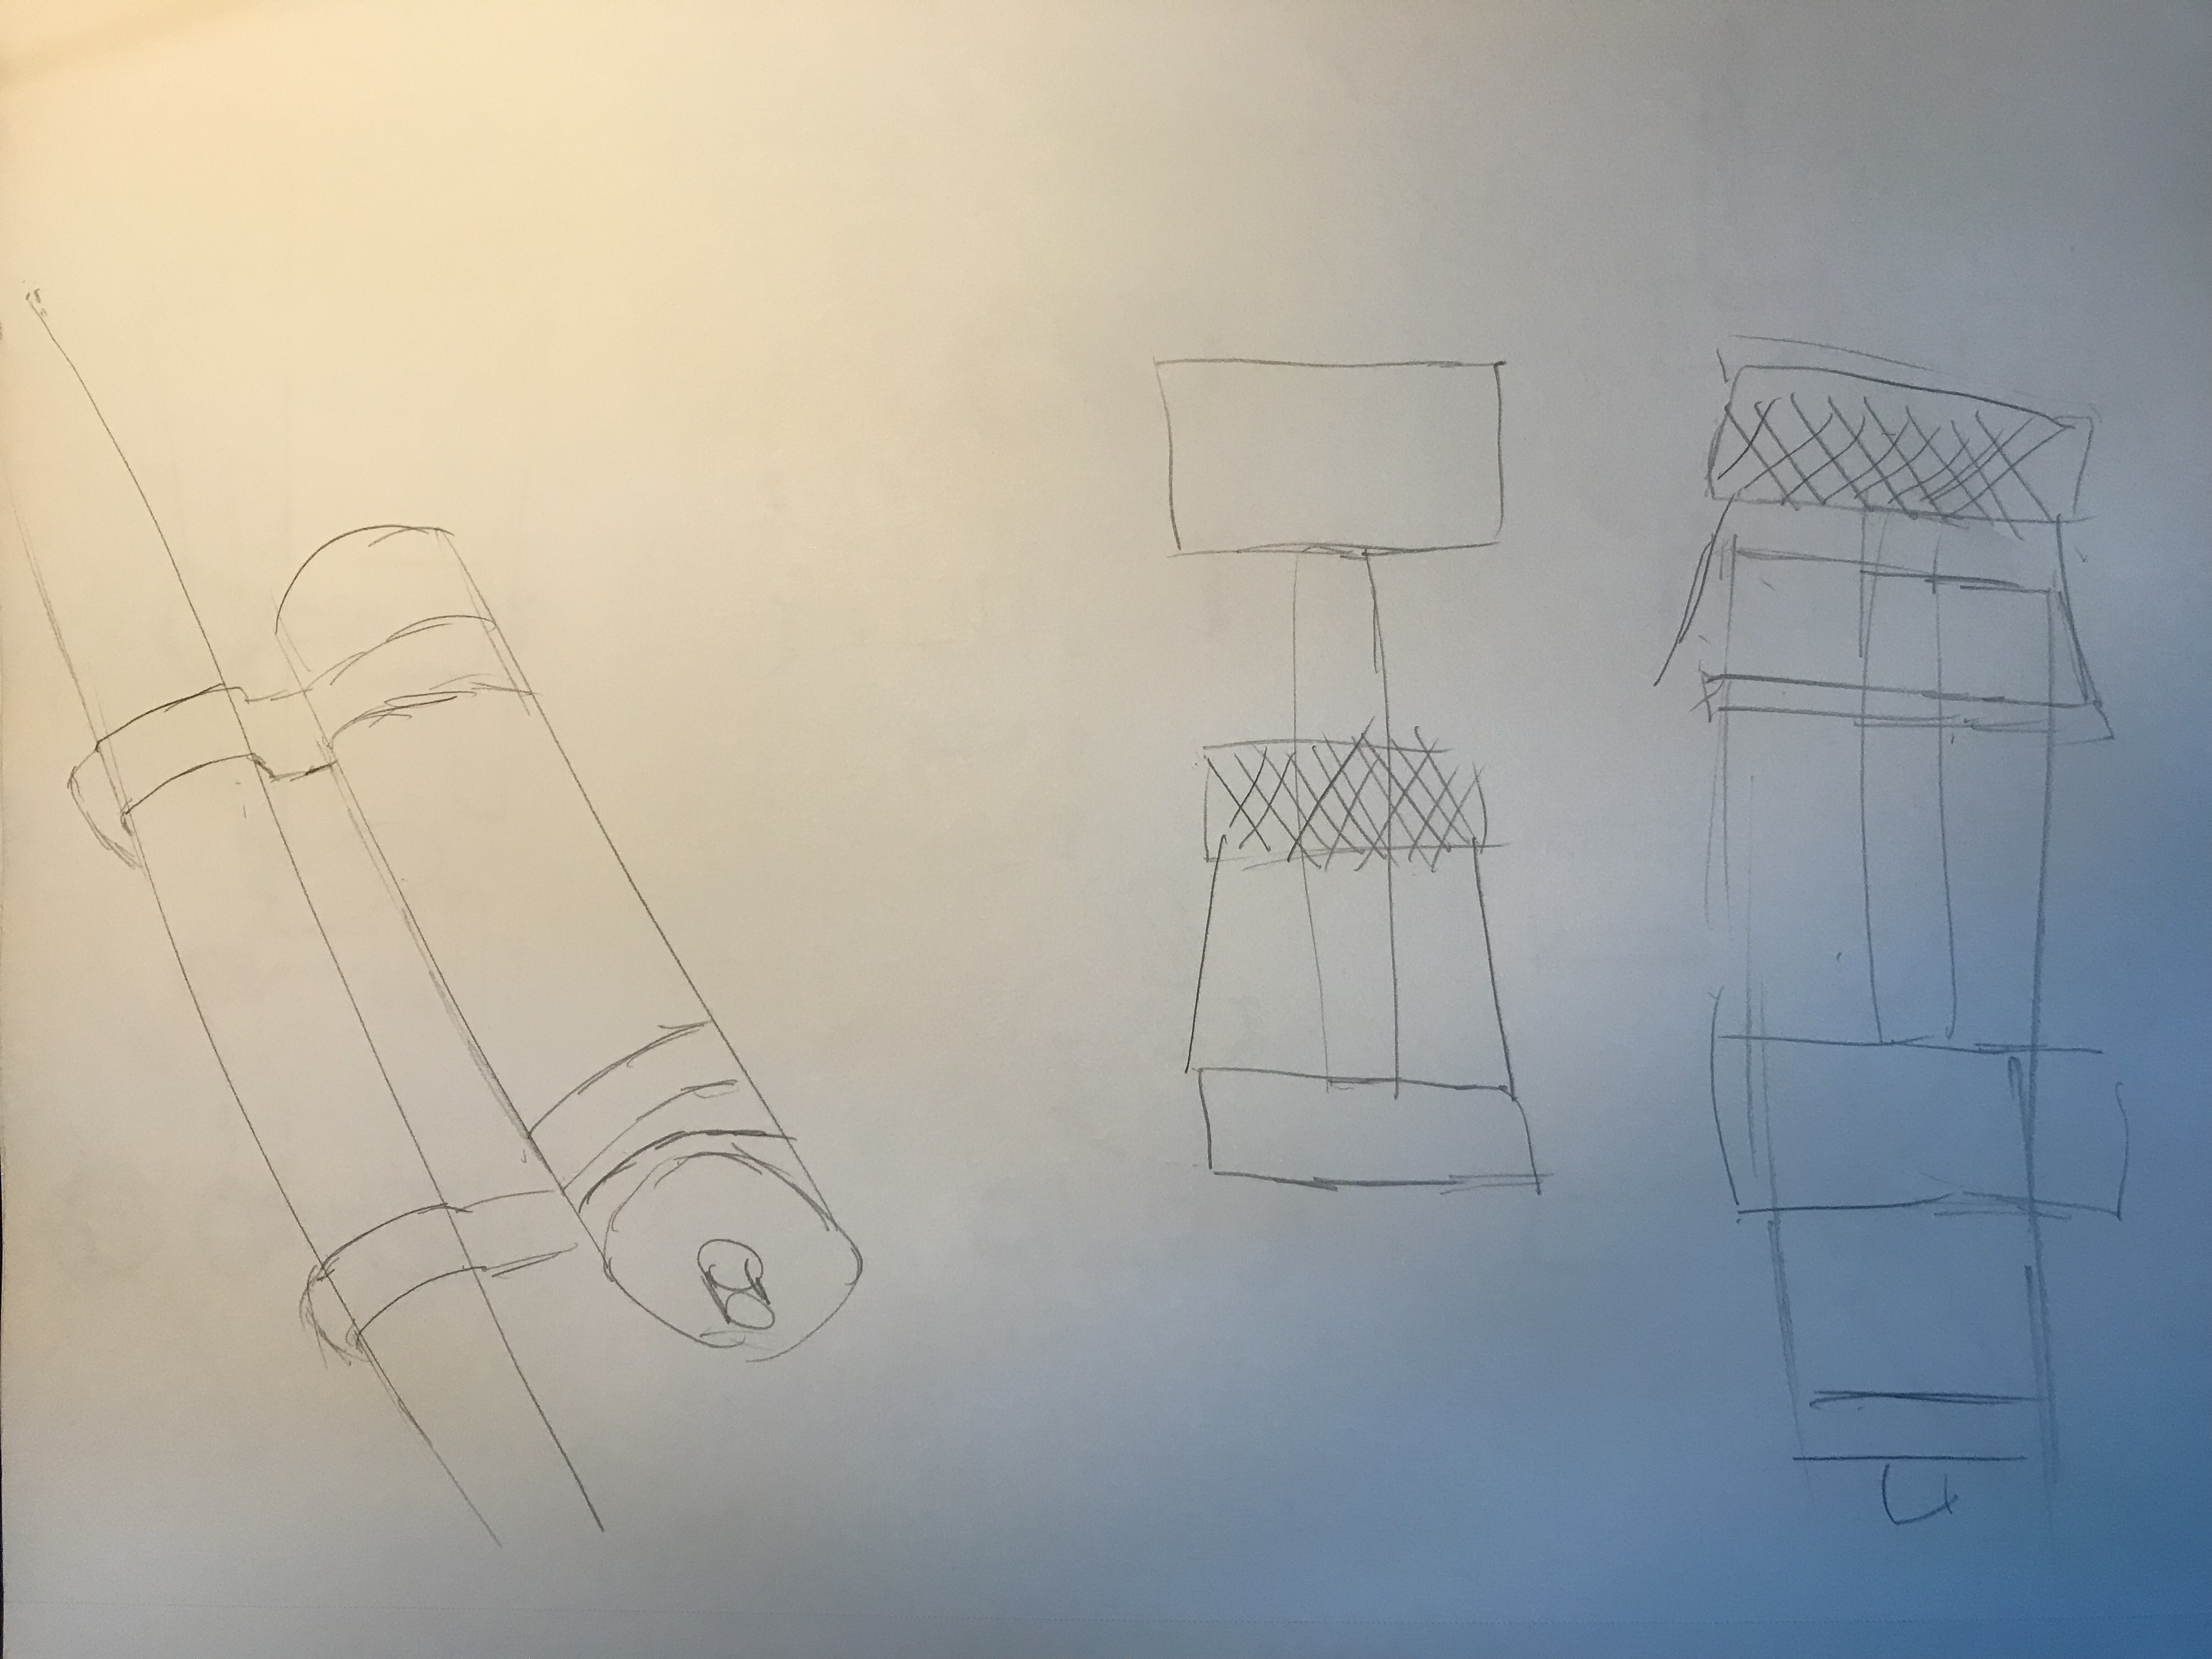
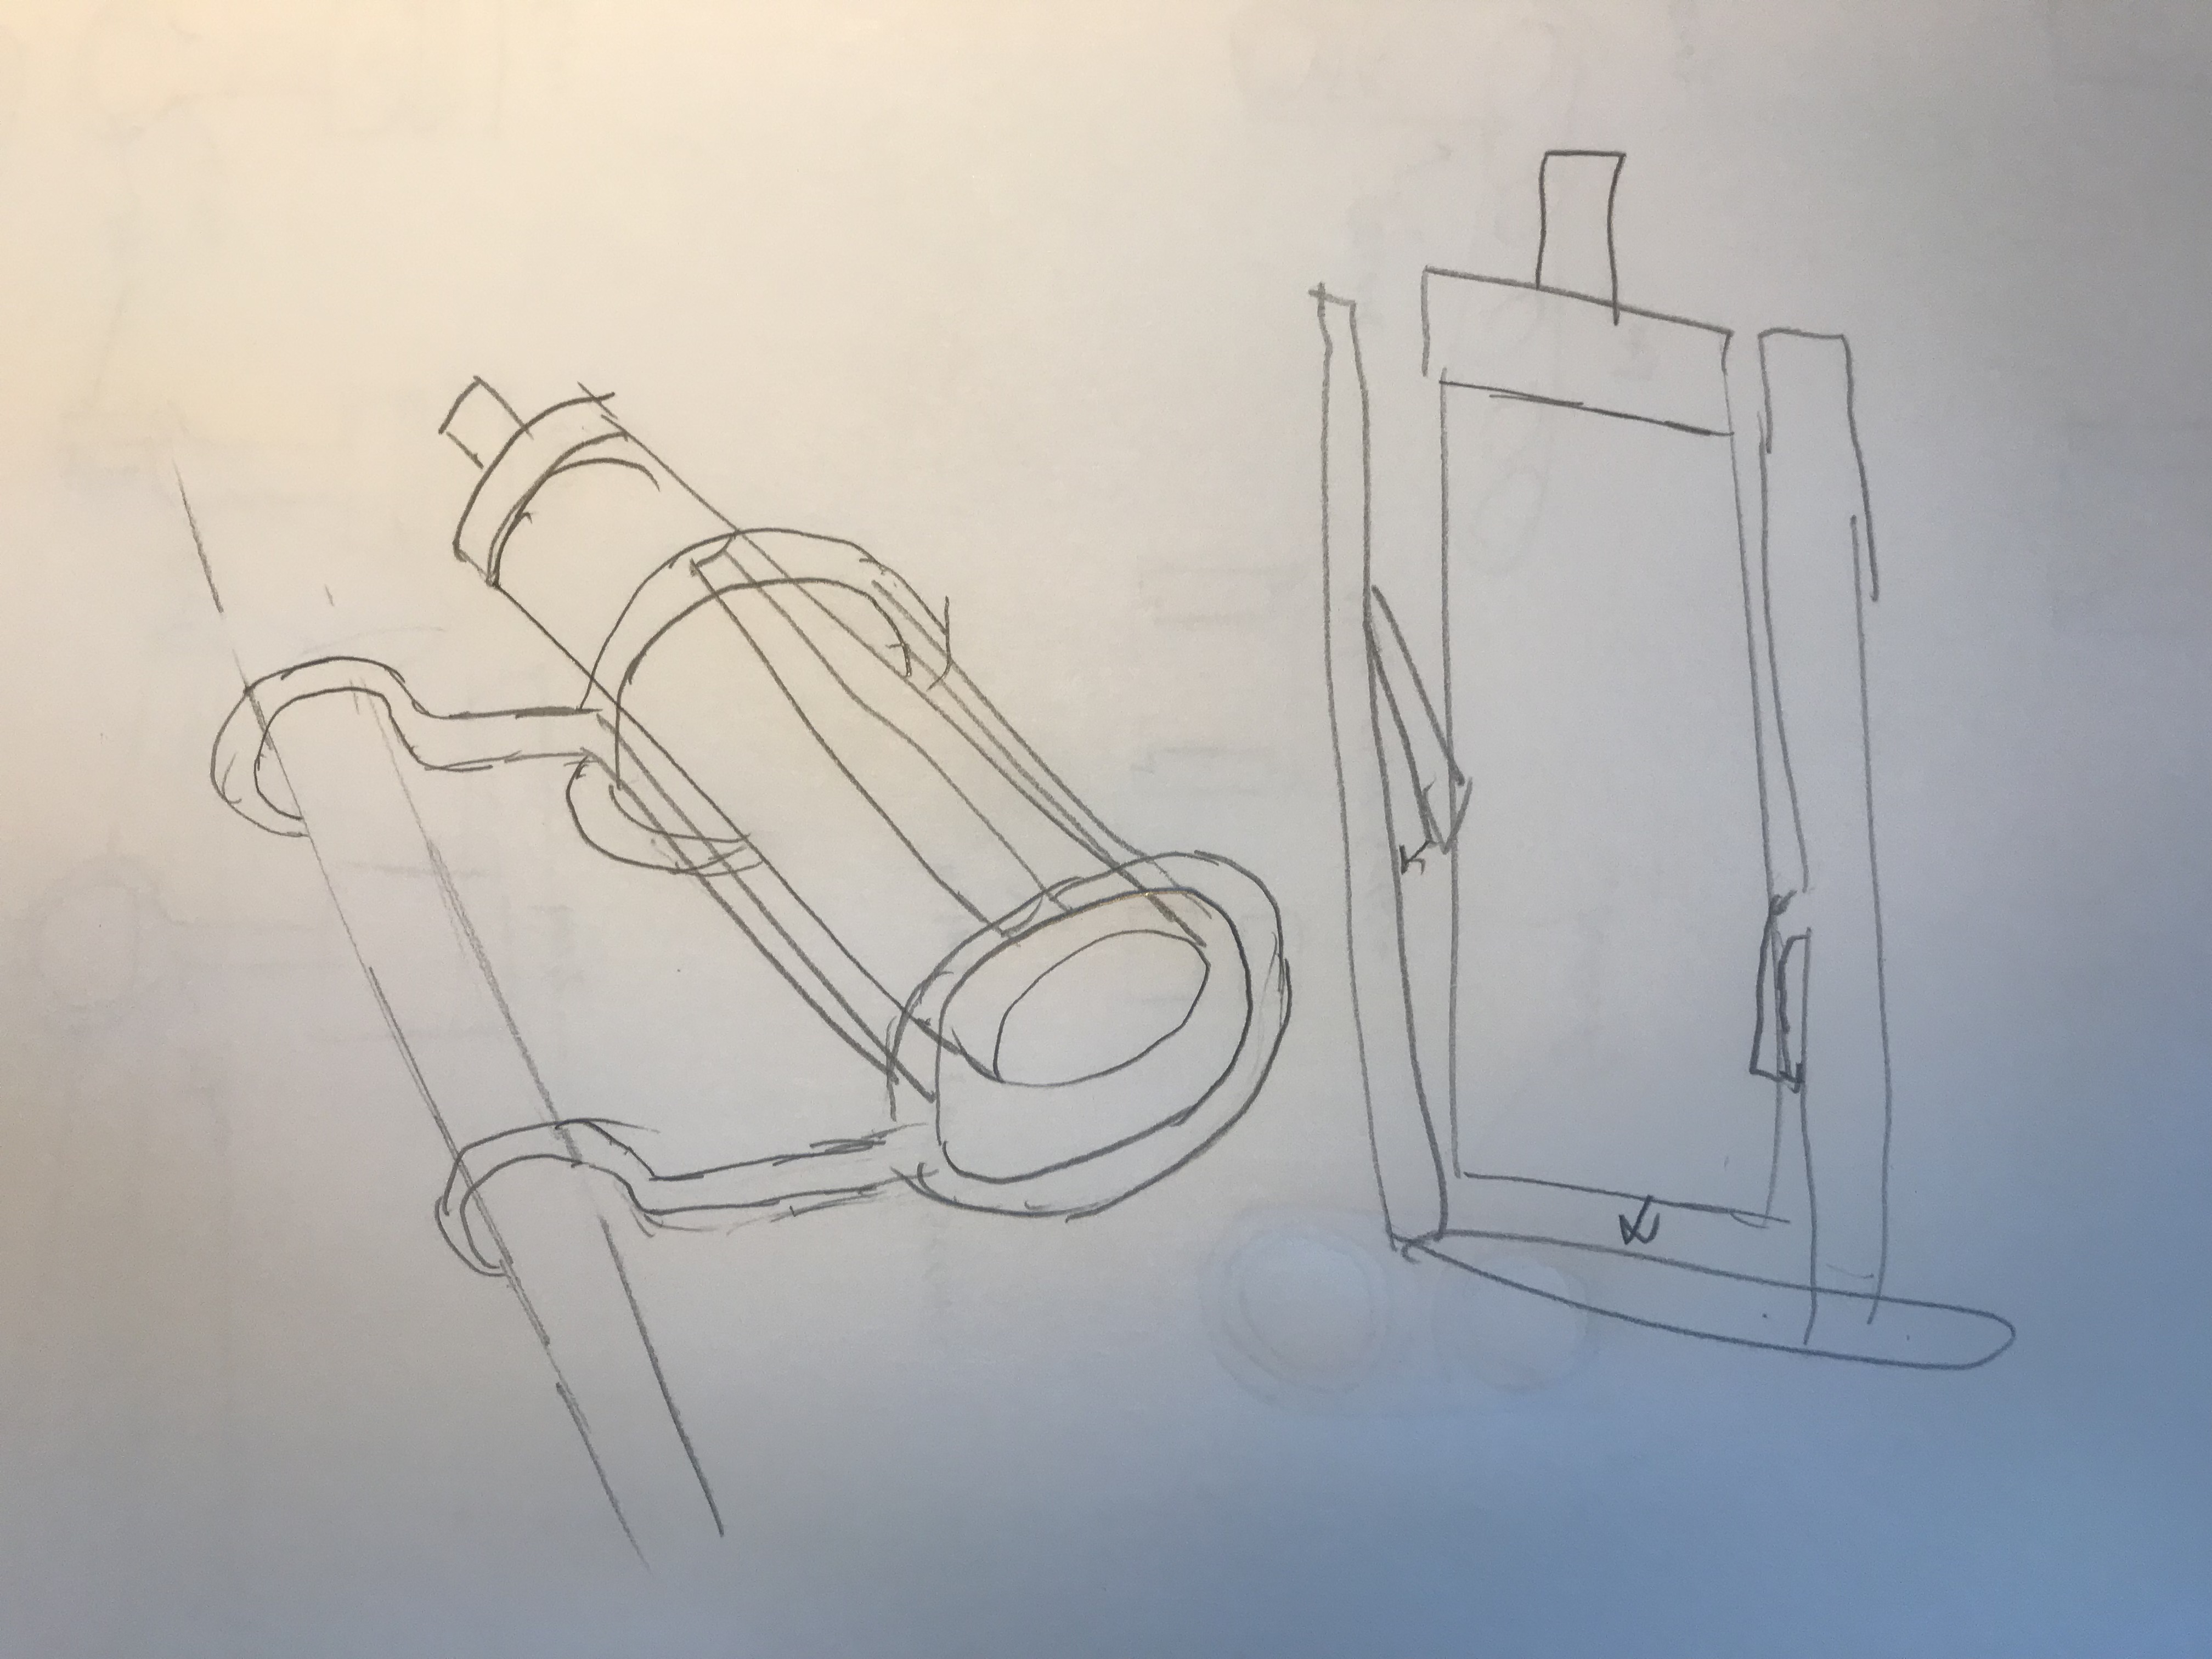
After this, I sketched a couple potential ideas.
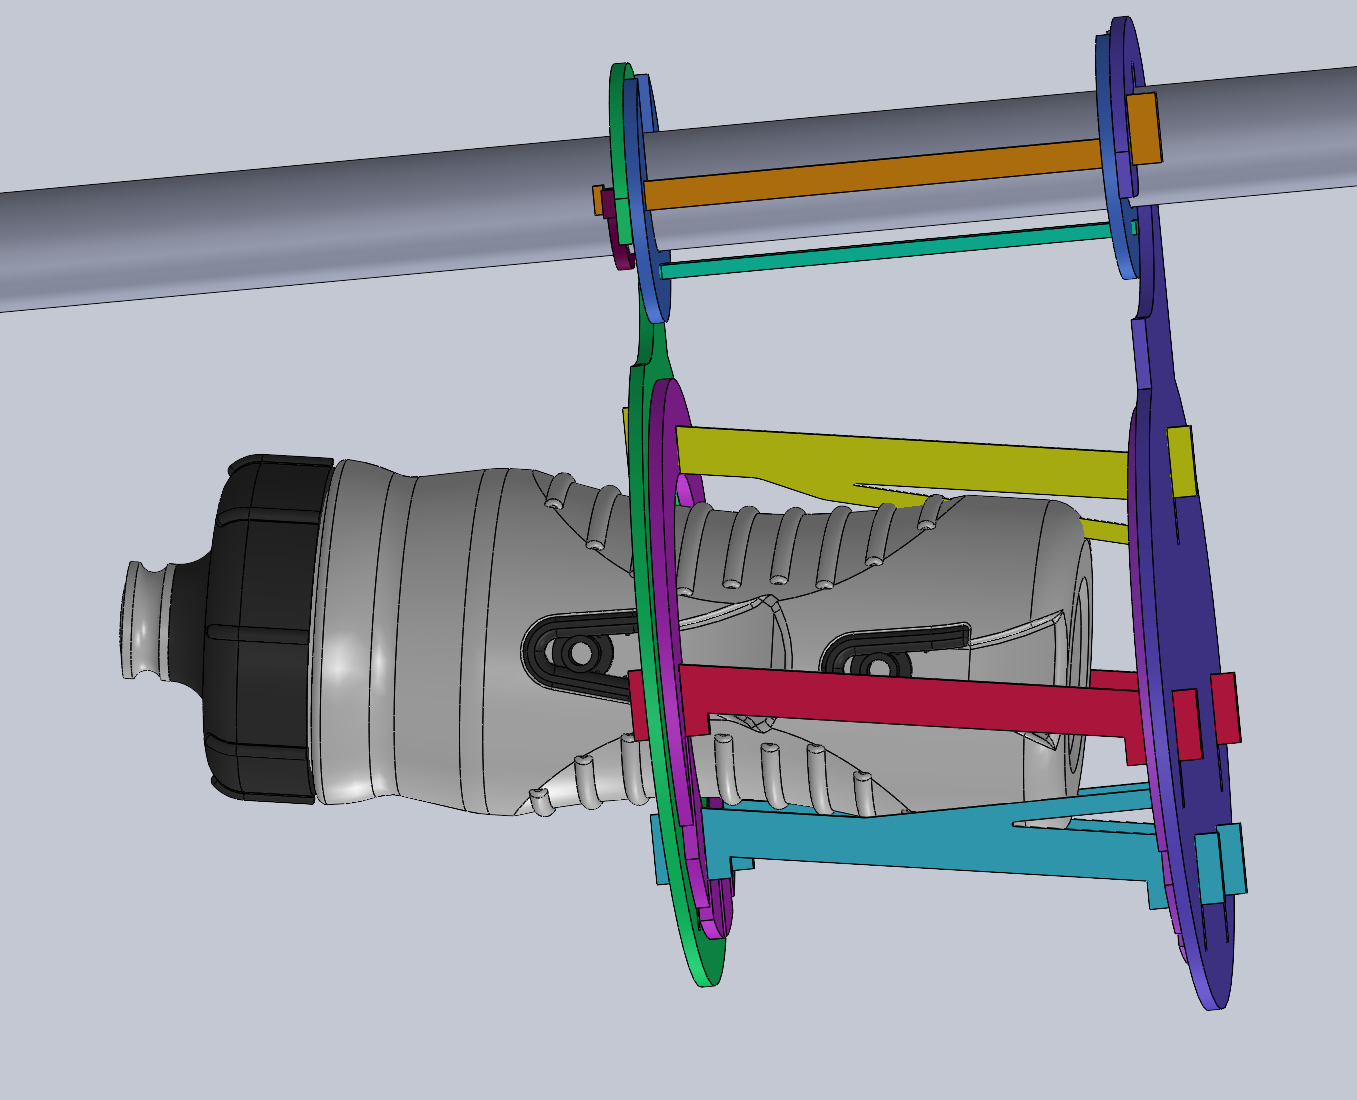
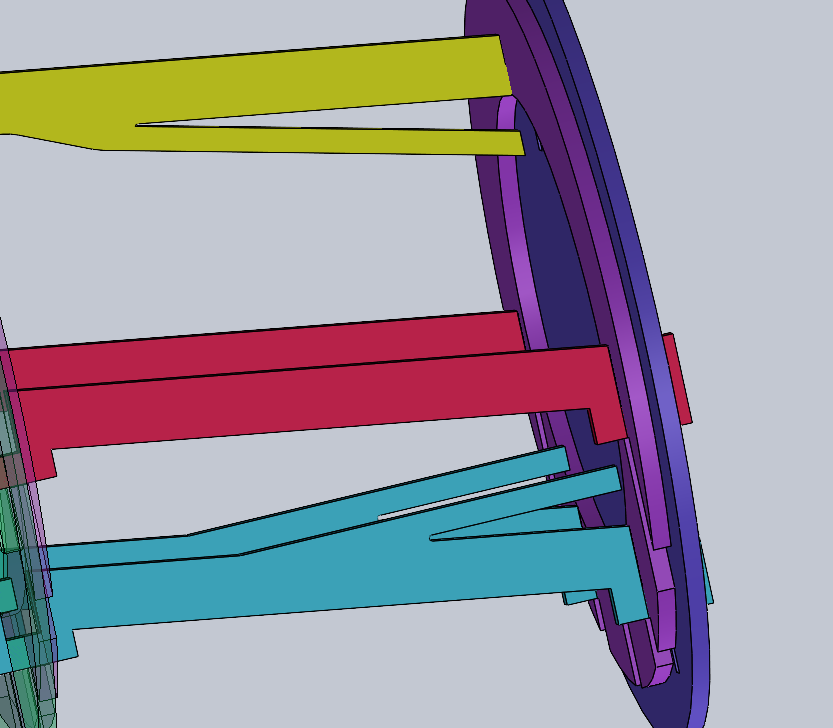
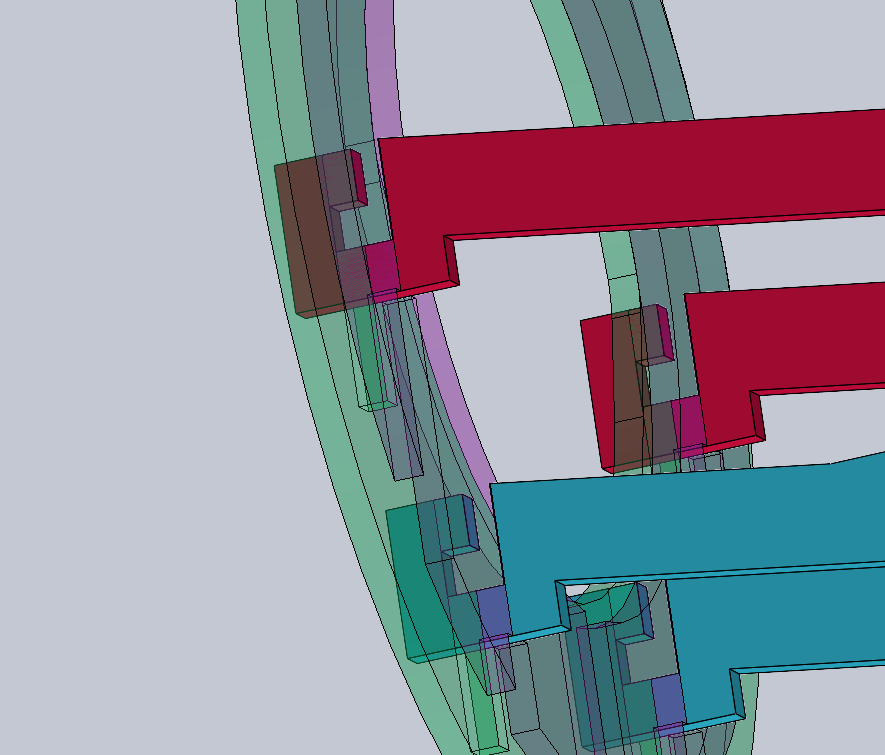
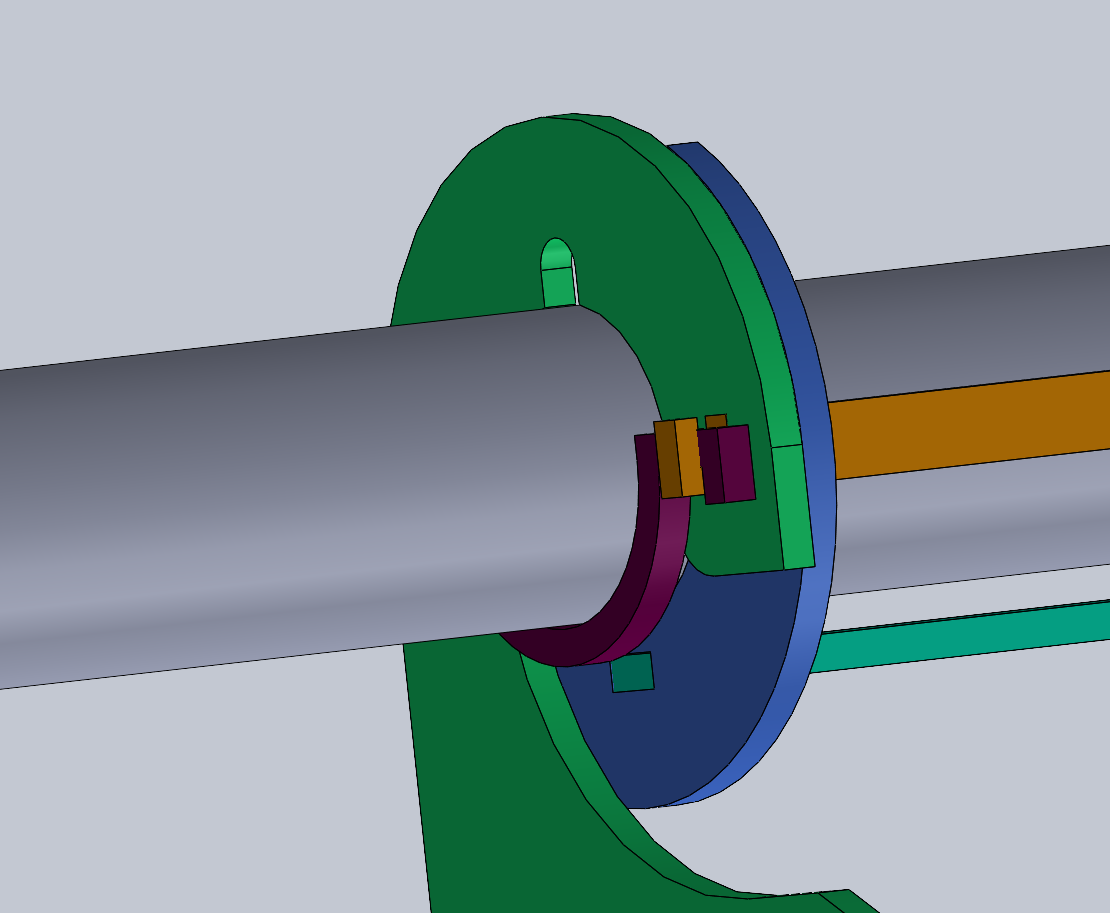
I next designed a model in Solidworks. My top tube is a 1” OD steel tube, with a cable housing on top for my rear brakes. To have a piece to build around, I found a water bottle model on Grabcad. I also double checked the specifications for standard water bottles. According to Wikipedia entry for Bottle Cages, the standard dimensions for a bike water bottle are 73mm in diameter and are 127 mm tall (or have an indentation at the same point). A couple key considerations:
- I wanted to build something with interlocking pieces so that pieces could not fall out easily. I utlized a variety of tabs with several “keys” which locked other pieces into place.
- I utlized several springs/tabs which would bend and apply pressure inwards to the bottle, securing it in the holder.
- The bottle cage needed to be tilted up so the bottle would not fall out from gravity or momentum shifts while riding.
- The bottle cage needed to be able to used without looking, so the hole at the top of the holder is oversized.
- My bike has no mounting holes, so any design would need to only attach to the frame.
- All pieces were designed to be cut by a lasercutter out of 3mm acrylic
Fabrication
Following the initial CAD model, I lasercut all the pieces out of cardboard to do a mockup.
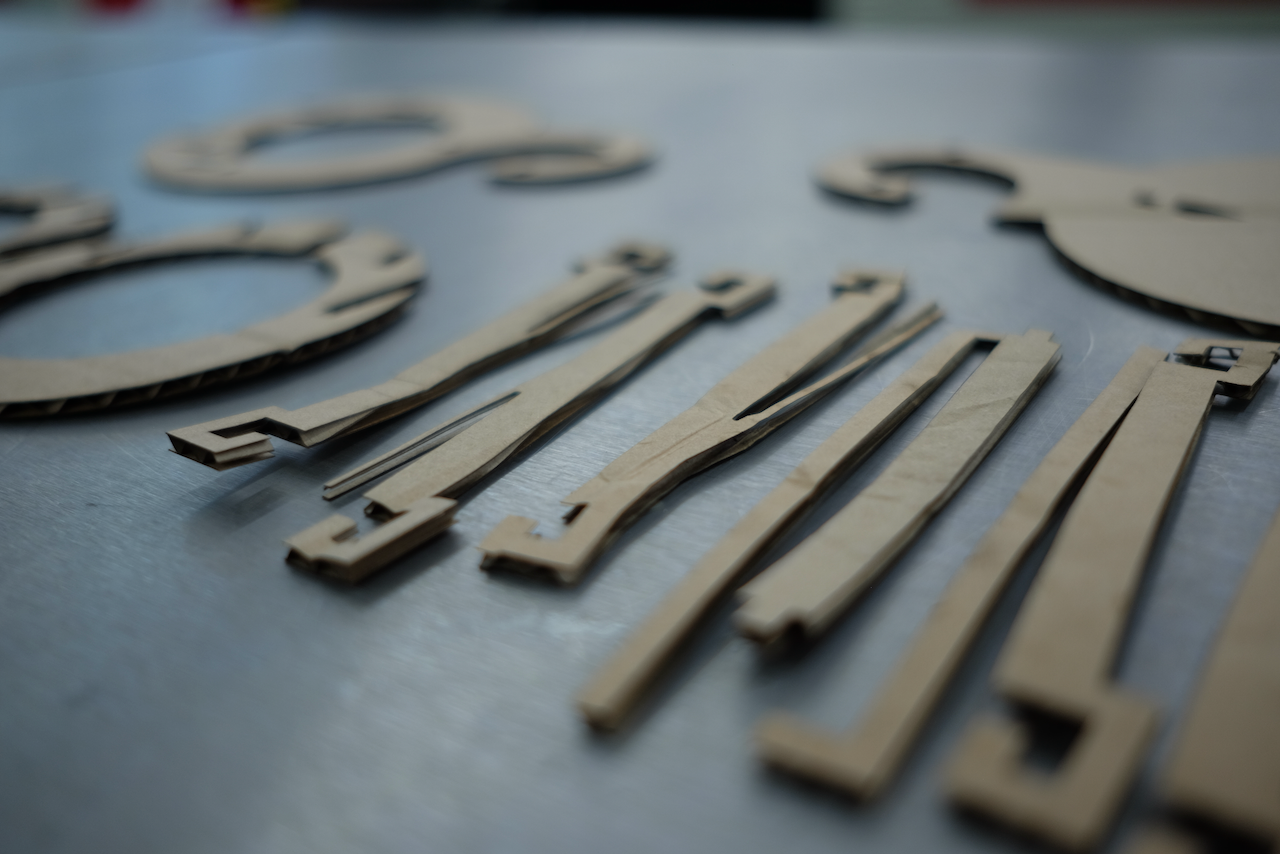
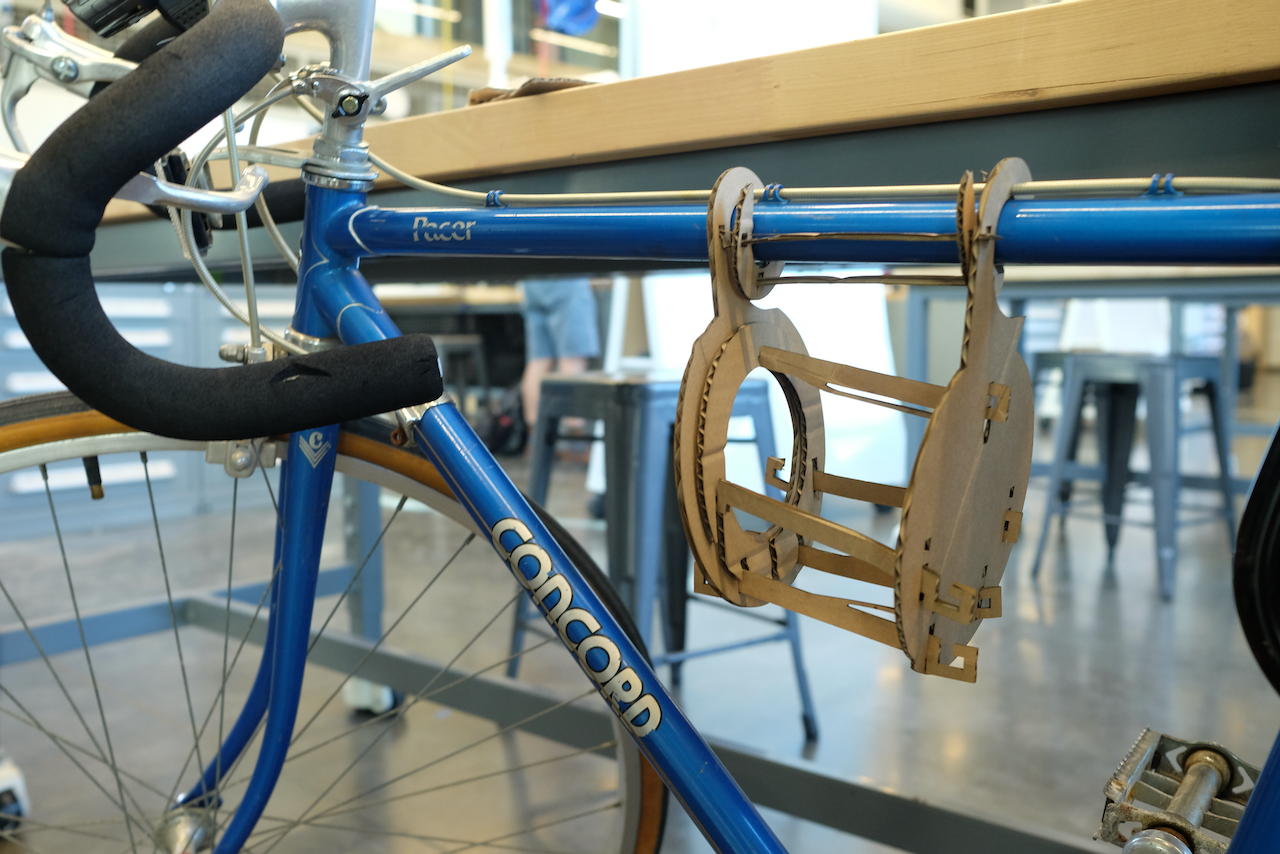
The results seemed quite good, and so I proceeded to make an initial version out of acrylic.
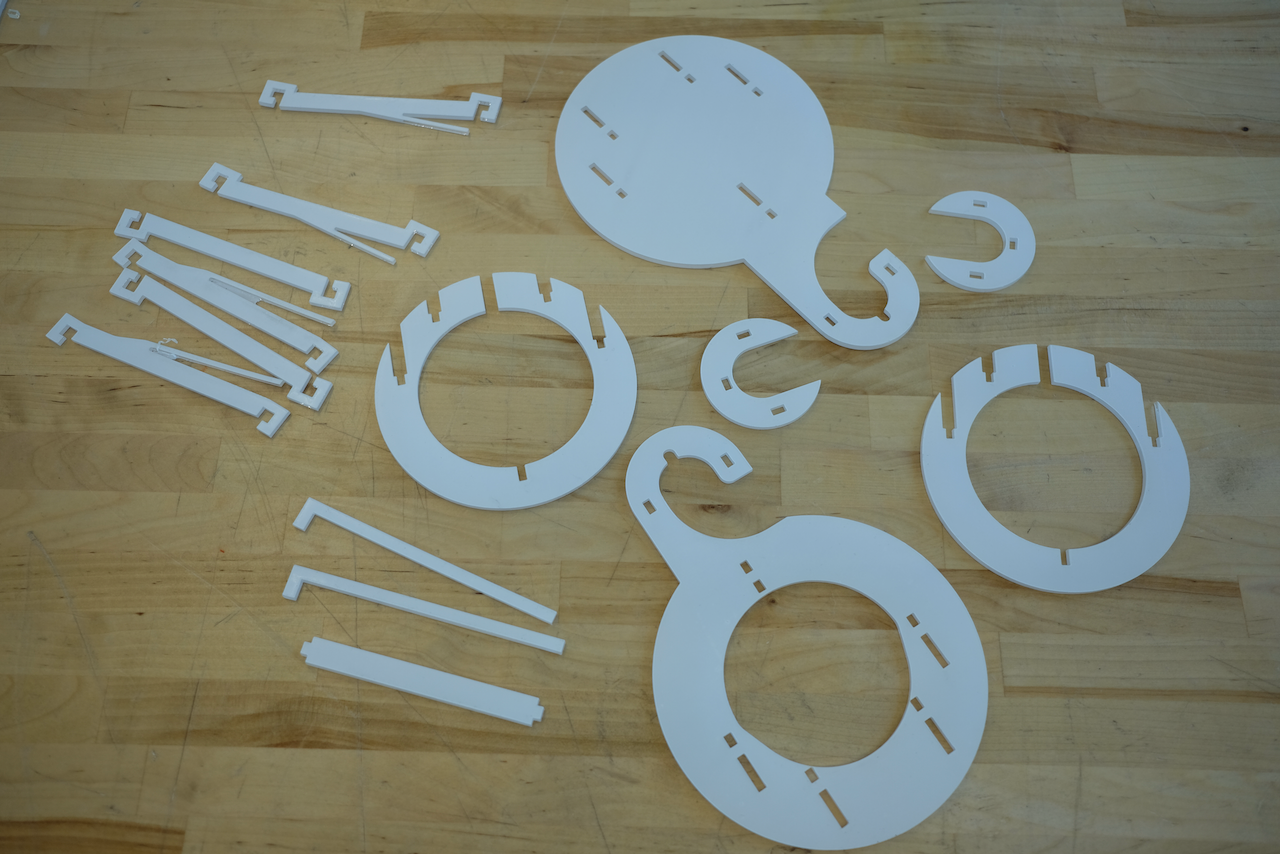 While overall the parts came out quite well, I decided to make a couple modifications. The first was that the fit was a bit loose. As I rely only on interlocking pieces, having good fits was essential to a robust final product. I had previously added a 0.1mm offset to all holes, but combined with the laser kerf, the pieces were not a close fit. I also strengthened the retaining tabs on the bottom and top tab pieces by increasing their thicknesses. This ensured the bottle would be secured more tightly (with more force holding the bottle).
The second iteration was quite good, but the fit was still a little loose. To improve this, I continued to decrease the offset to include 0.1mm of interference (in CAD). This fit was satisfactory. I also noticed that my final mechanism to secure the holder to the tube was prone to falling out. To fix this, I also modified the top skewer pieces to include a notch to support a locking piece which would act as a retaining clip for the system. This is seen above in CAD. Below is a video of final assembly:
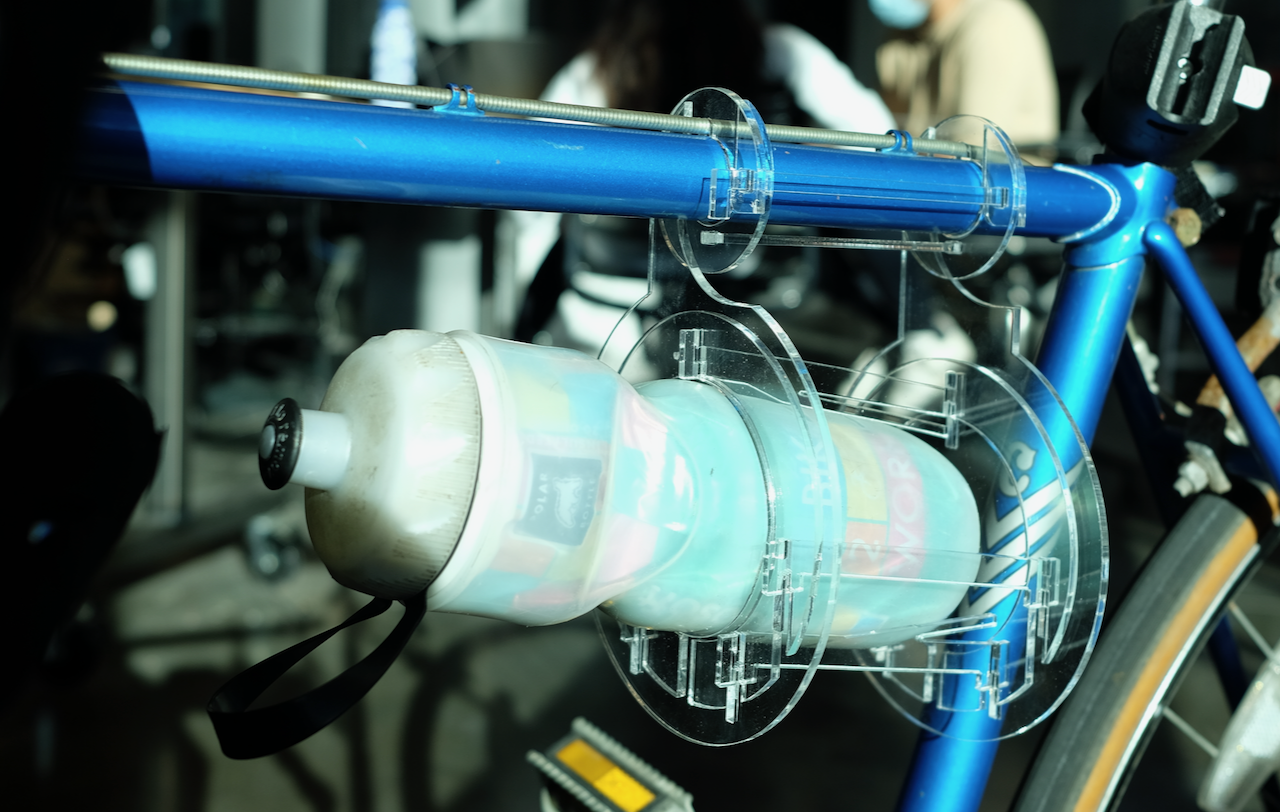
Here is a closeup at the finished product mounted on my bike!:
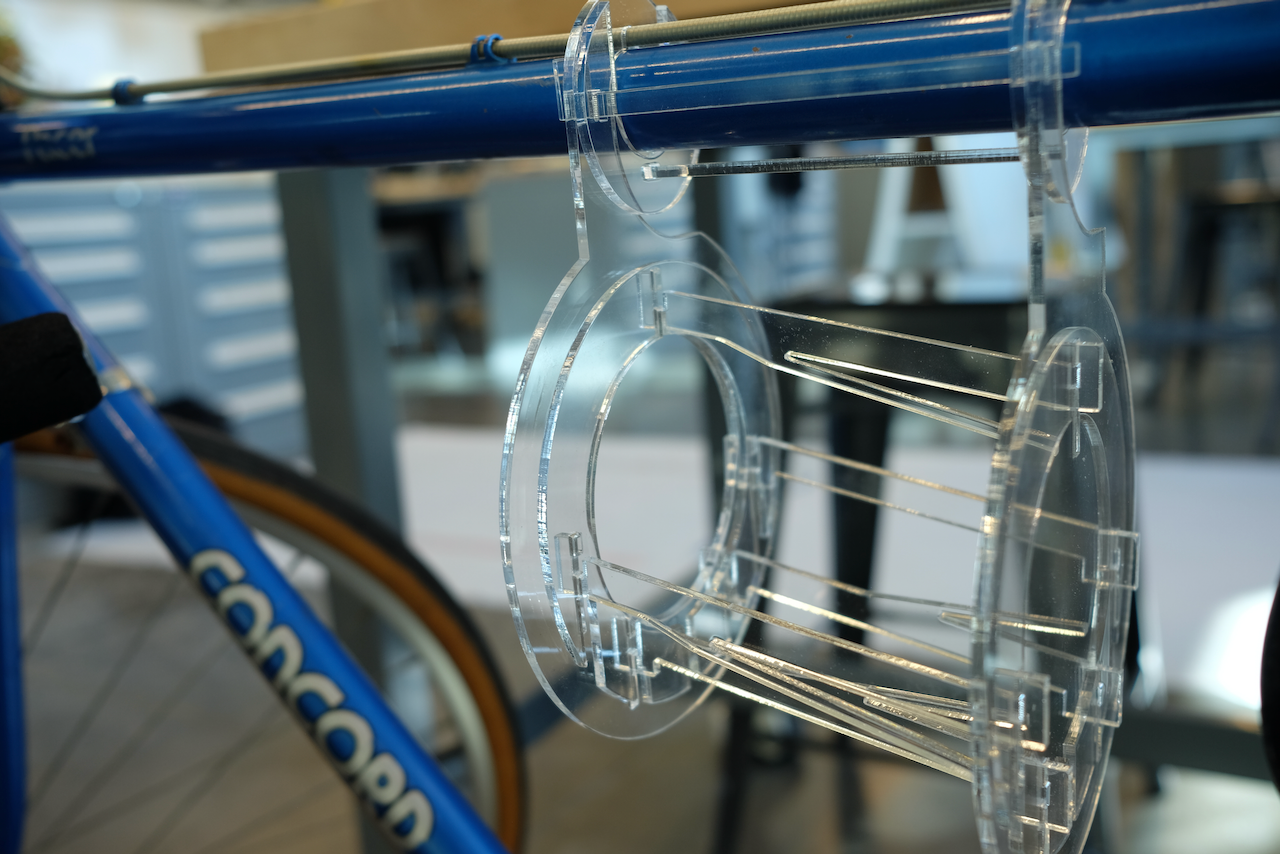
Here are some other views. First we have a top view showing the attachment to the bike, along with a good view of the top bottle retaining tab:
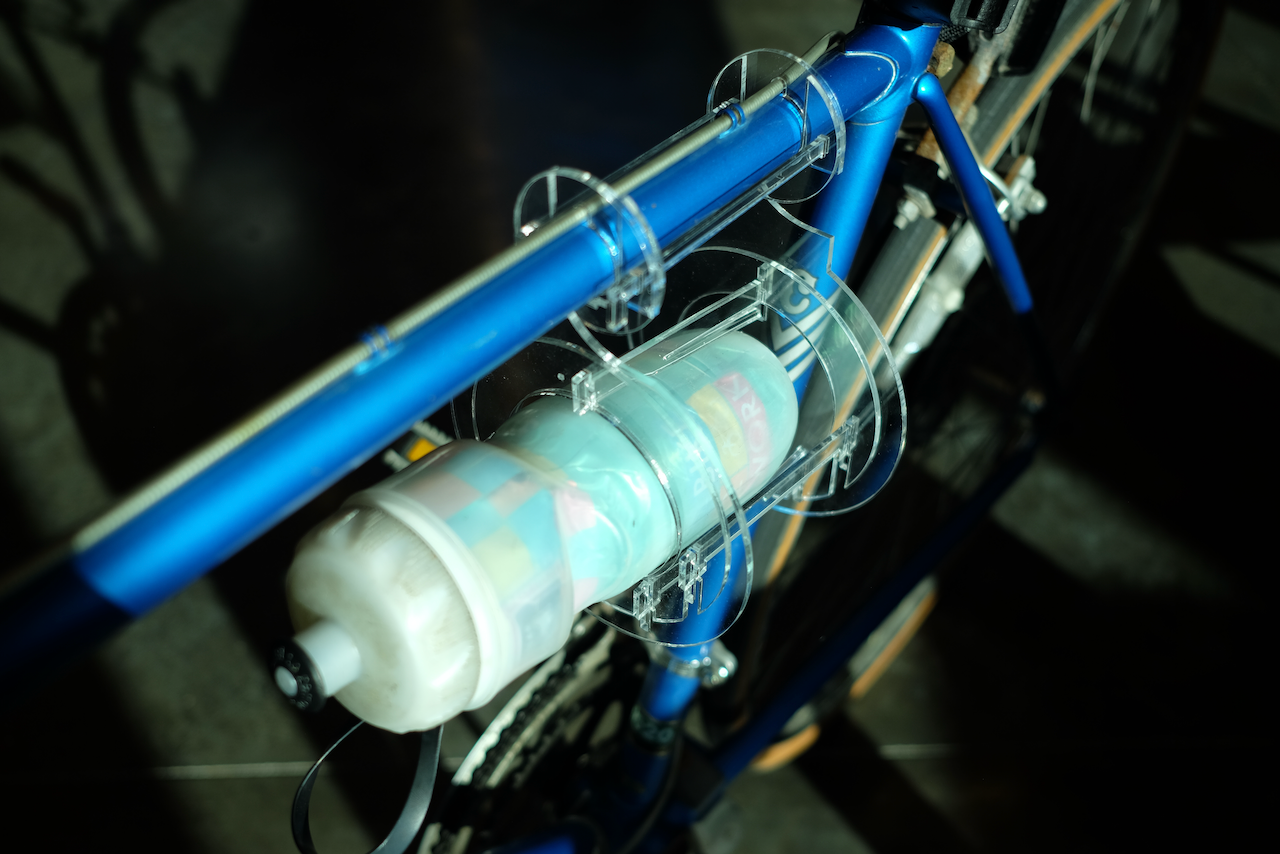 This is a bottom view highlighting the way the pieces interlock.
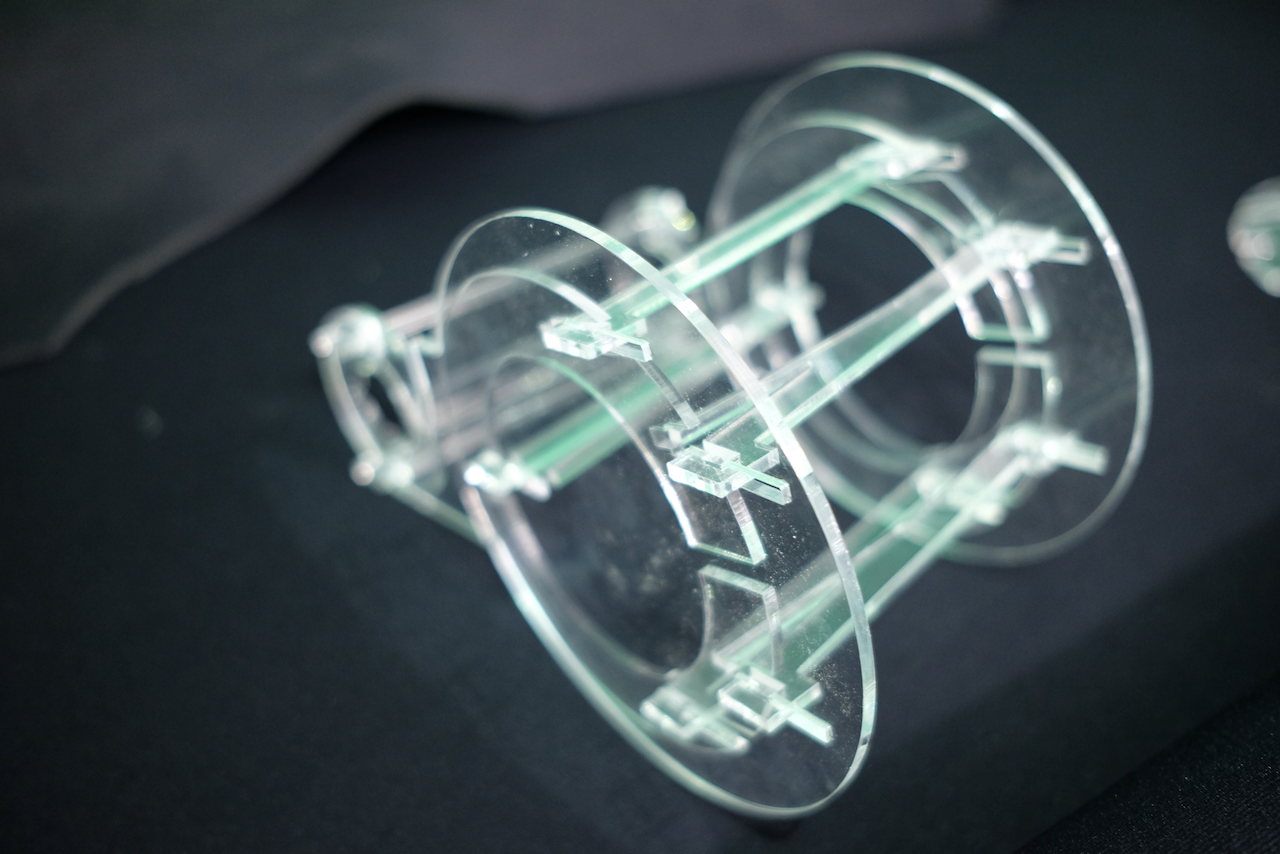 Some testing to ensure the robustness of the bottle holder to vibrations, as well as to ensure bottle stays secure during riding. Testing done with a full water bottle.
